Showing posts sorted by relevance for query www.hair style. Sort by date Show all posts

Saturday, October 29, 2016

Hair style|How to get a unicorn look using clip-in hair extensions!

01 title 2.JPG

Bring some serious sparkle to your Halloween style with this quirky unicorn look! Who wants to be a gross blood-stained zombie when you can channel the magic of the rainbow right?


Whether you want to keep it cutesy � la My Little Pony or create a sexy but evil unicorn look to scare the pants off your friends, you can�t go wrong choosing these beautiful creatures as your Halloween inspo. They�re so the divas of the (mystical) animal world.

So grab your clip-in hair extensions and let the sparkle-tastic Miss Alex show you exactly how to get that gorgeous unicorn shine.
15.JPG

First things first, get your stuff together�
You�ll need
  • Clip-in hair extensions (a three-clip and a four-clip weft for this look)
  • Curling wand or iron
  • Comb for sectioning and backcombing
  • Hair ties and grips
  • Smoothing serum
  • Hairspray
  • Pigmented highlighter and glitter pigment
  • Eyelash glue and silver glitter
  • Silver flat-backed crystals
  • Unicorn headband (yep, they�re a thing - grab one online or get crafty and make your own)
Hot to trot? Let�s do this.
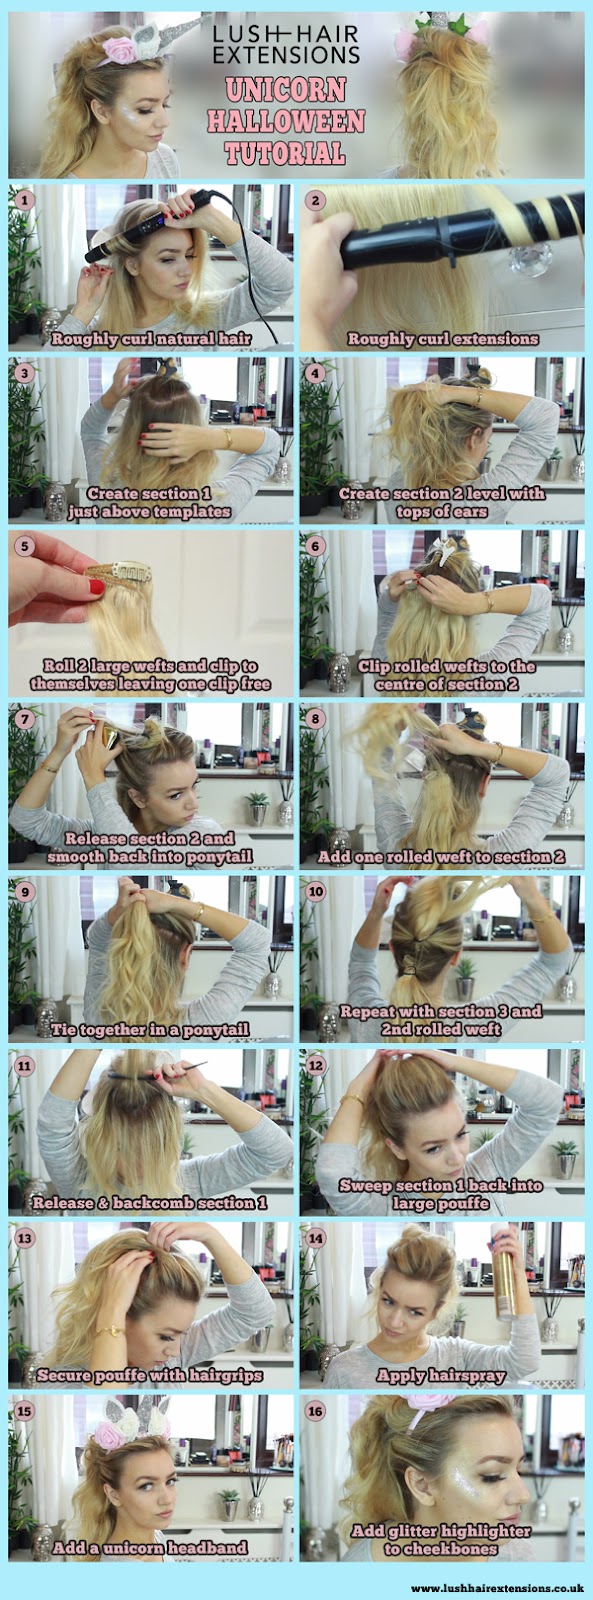
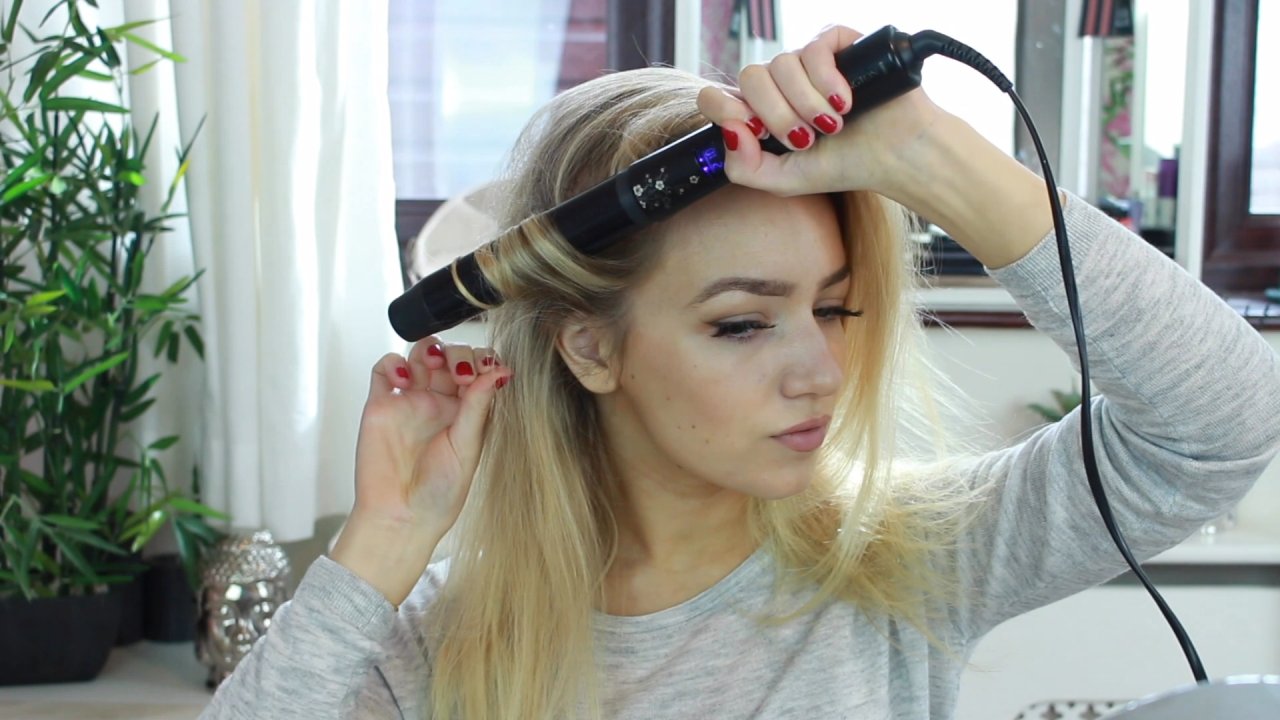
Conjure some curls
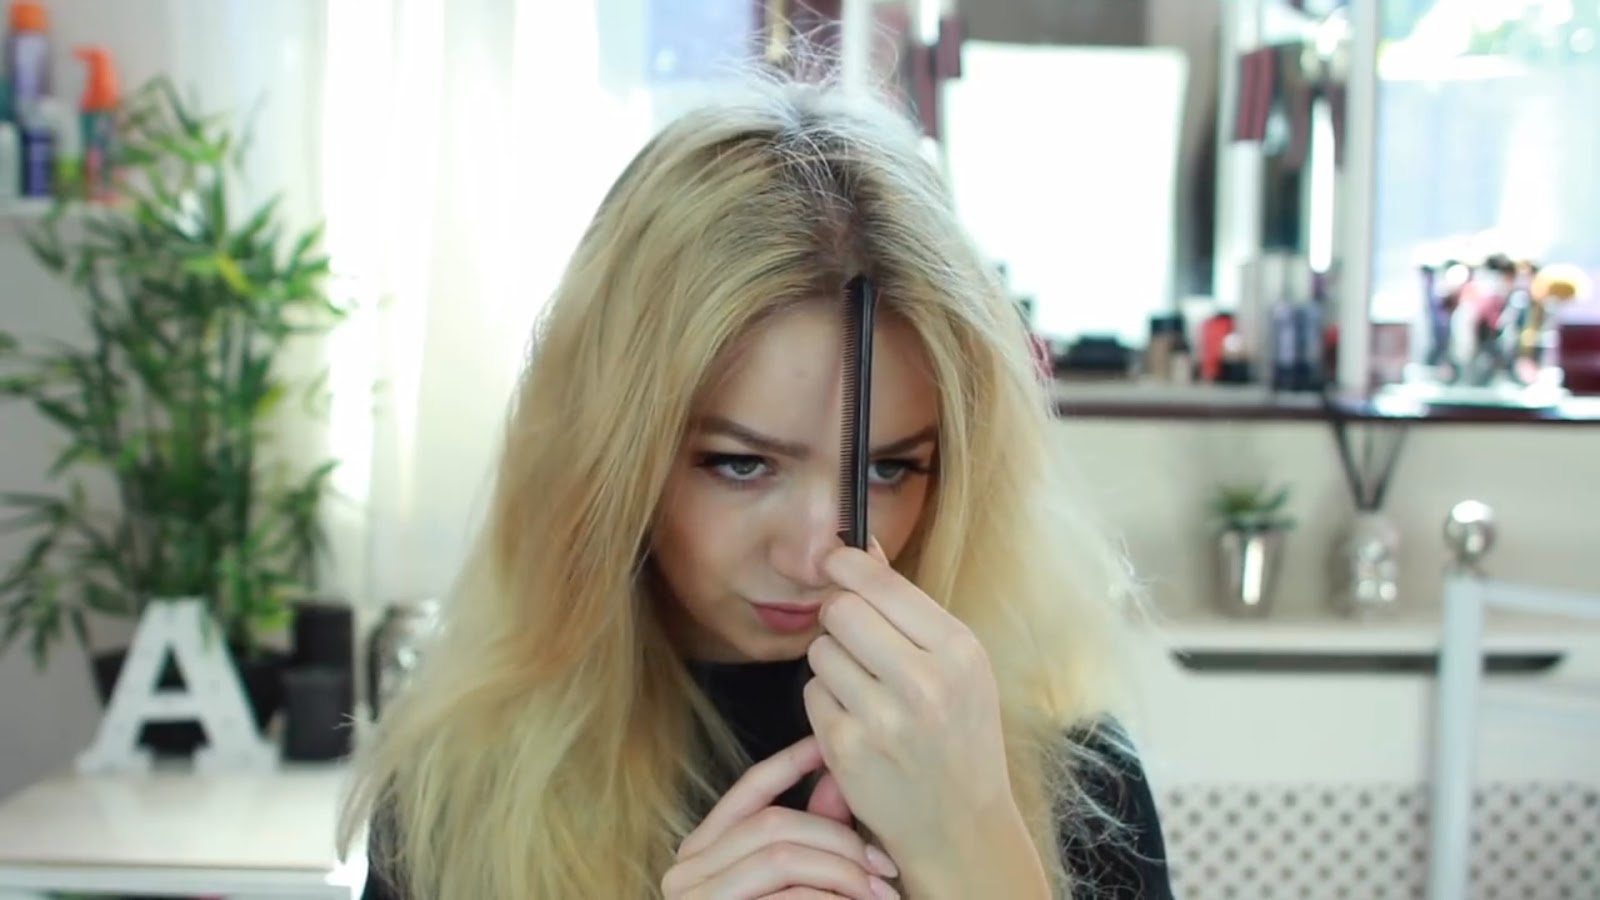
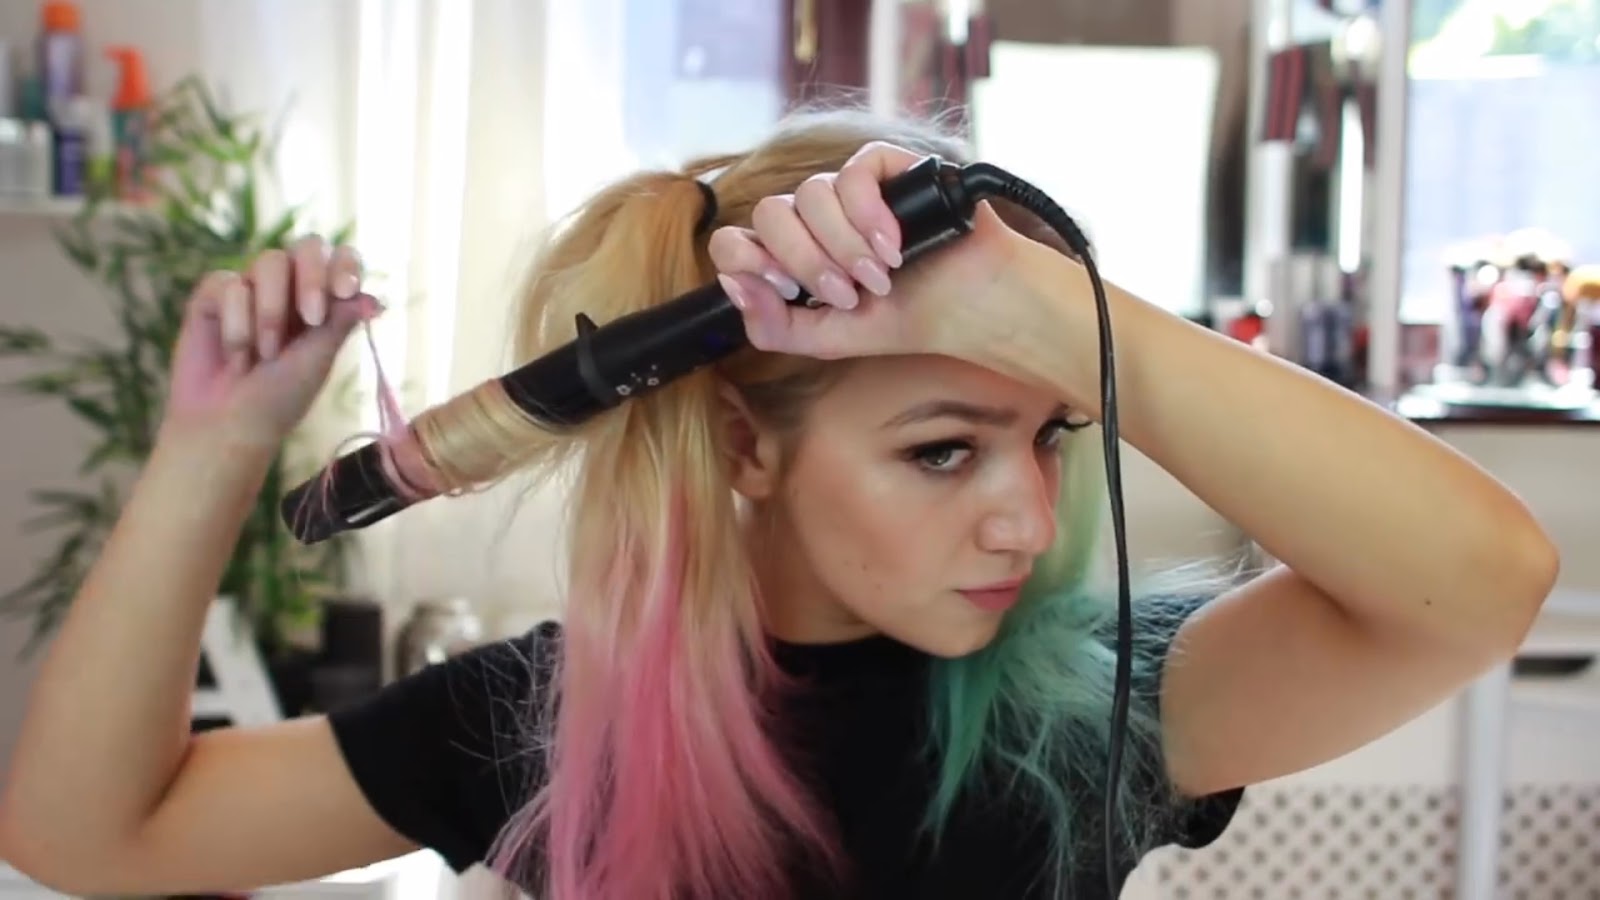
Get started by brushing through your natural hair so it�s nice and smooth. Then grab your curling wand and curl some random sections of hair to add some texture and volume to your mane fauxhawk. If you�re not sure how to do this, just check out our helpful how to get loose curls post and come straight back to finish your look. Don�t worry about being neat � this style is all about embracing the messy look! Curl some strands of your clip-in hair extension wefts as well so they�re ready to go.

01.JPG
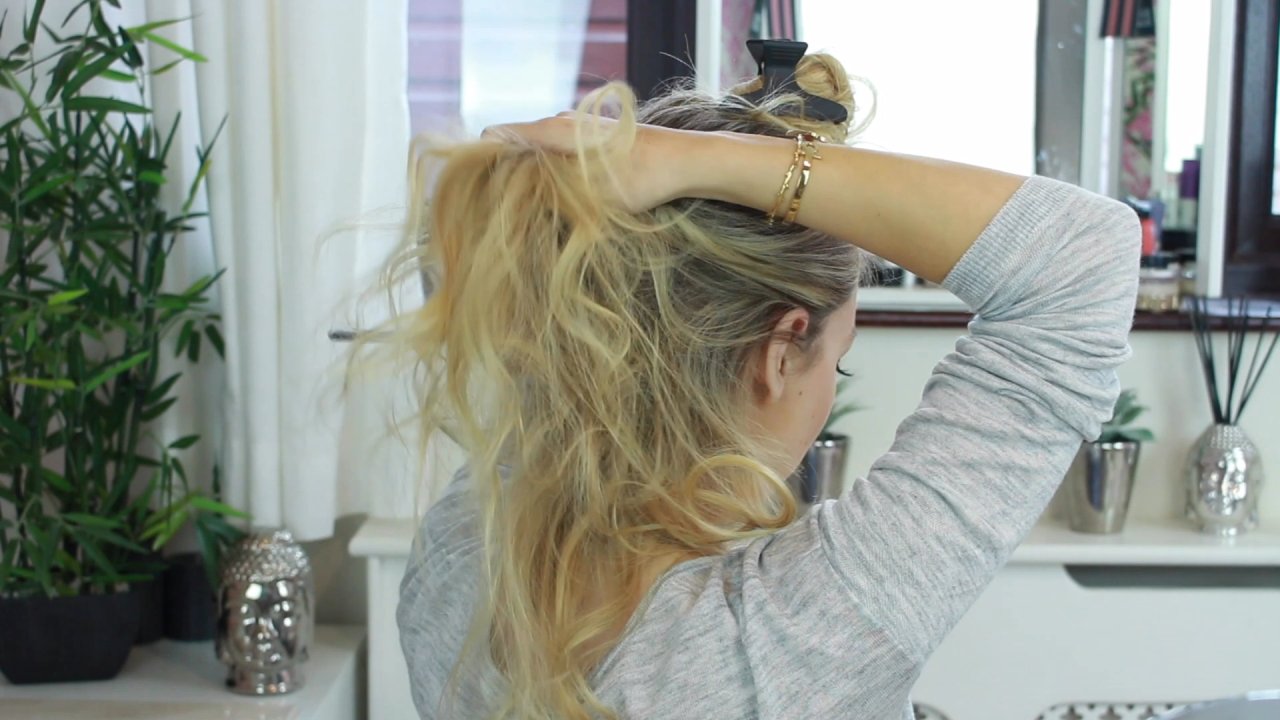
Once you�ve finished curling, create a section of hair at the top of your head and clip it out of the way for now. Then create another section in the middle of your head and clip that out of the way too. You�re basically dividing your hair into thirds � top, middle and bottom.  
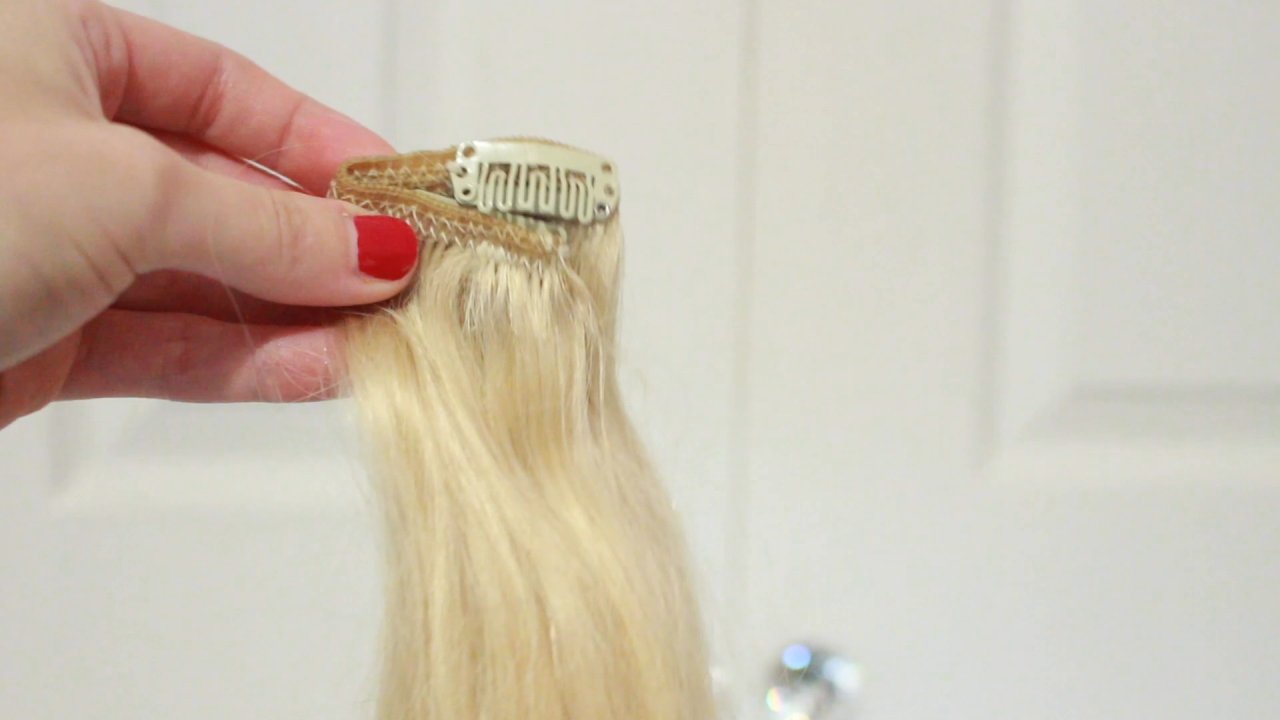
04.JPG

Bewitching wefts

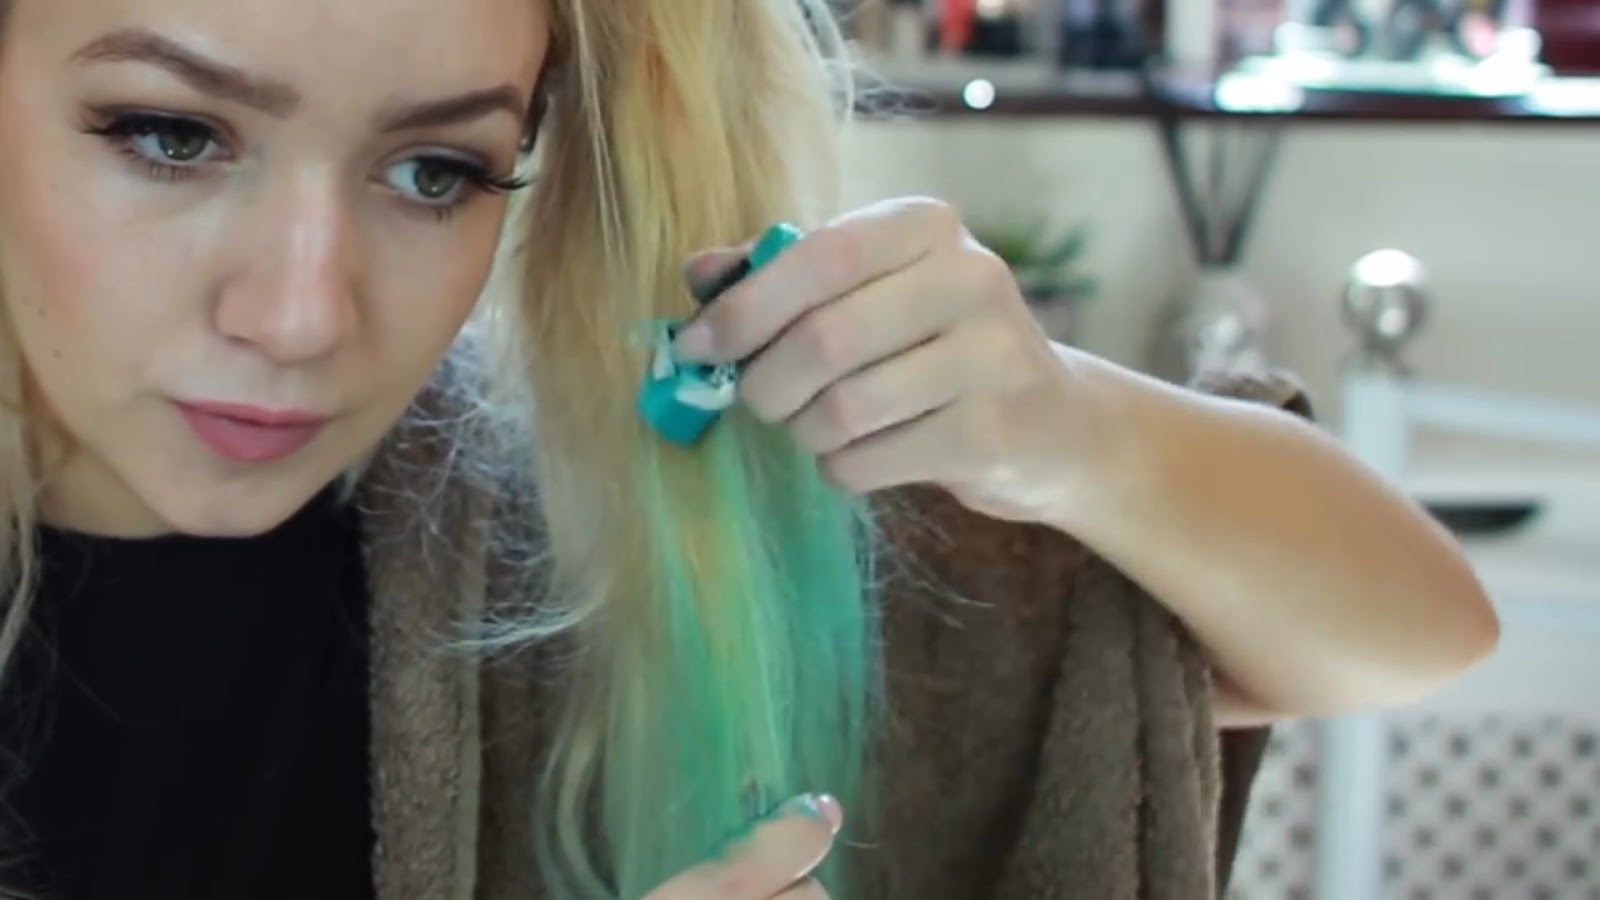
Now it�s time to apply your wefts. Take your three-clip weft and fold it over on itself, leaving one clip free for applying it to your head. Now do the same with your four-clip weft. You might want to watch the video for this bit to see just how Alex does it�
05.JPG
Just clip your wefts, side by side, into the bottom section of hair, in the middle of the back of your head.
06.JPG

Messy mane
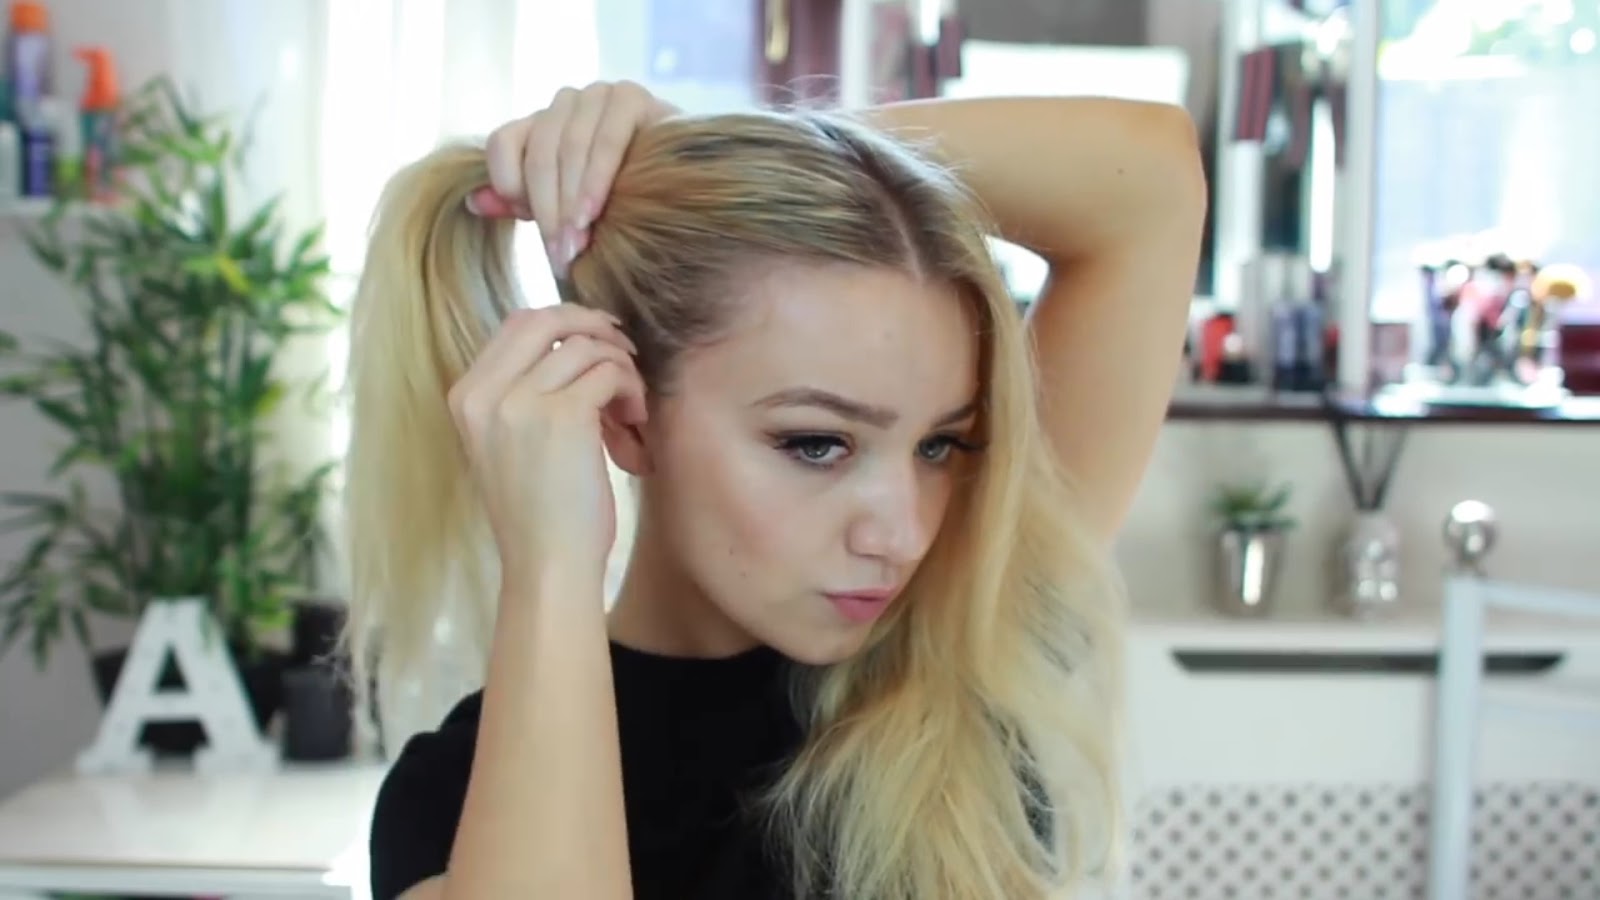
Next up, let�s make your mane. Release your middle section of hair and start to brush the sides of your Mohawk until they look silky smooth. Once both sides are lovely and neat, grab both the sides and one of your folded wefts together to create a high ponytail.
Repeat this with your bottom section of hair, by smoothing out the sides then creating another ponytail using the other weft.

10.JPG
Backcomb your ponytails gently with your comb to make them more voluminous. Then take some hair grips and grip small random sections of the ponytail onto the neat parts of your Mohawk. This will disguise the lines you created when you tied up your ponytails.
Dot small amounts of smoothing serum onto your fingers and apply it to the sleek sides of your ponytail.

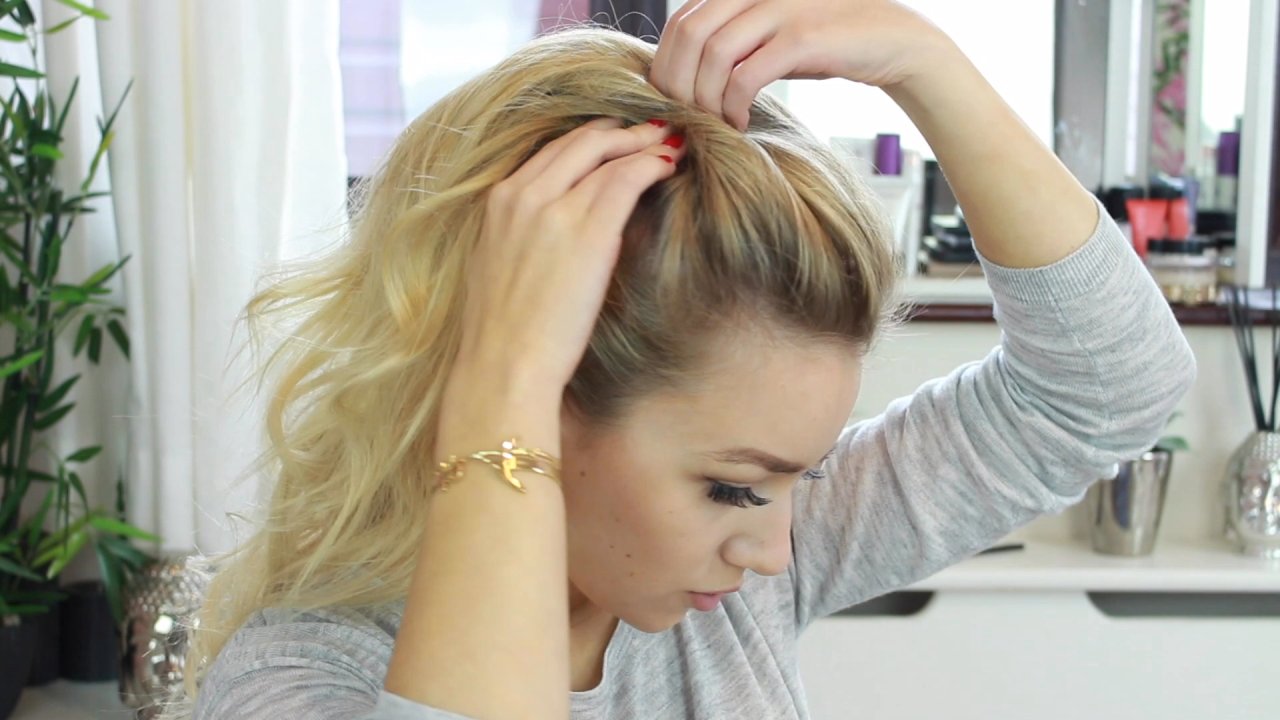
Now, release your top section of hair and give it some volume by pushing against the root with your comb.
11.JPG
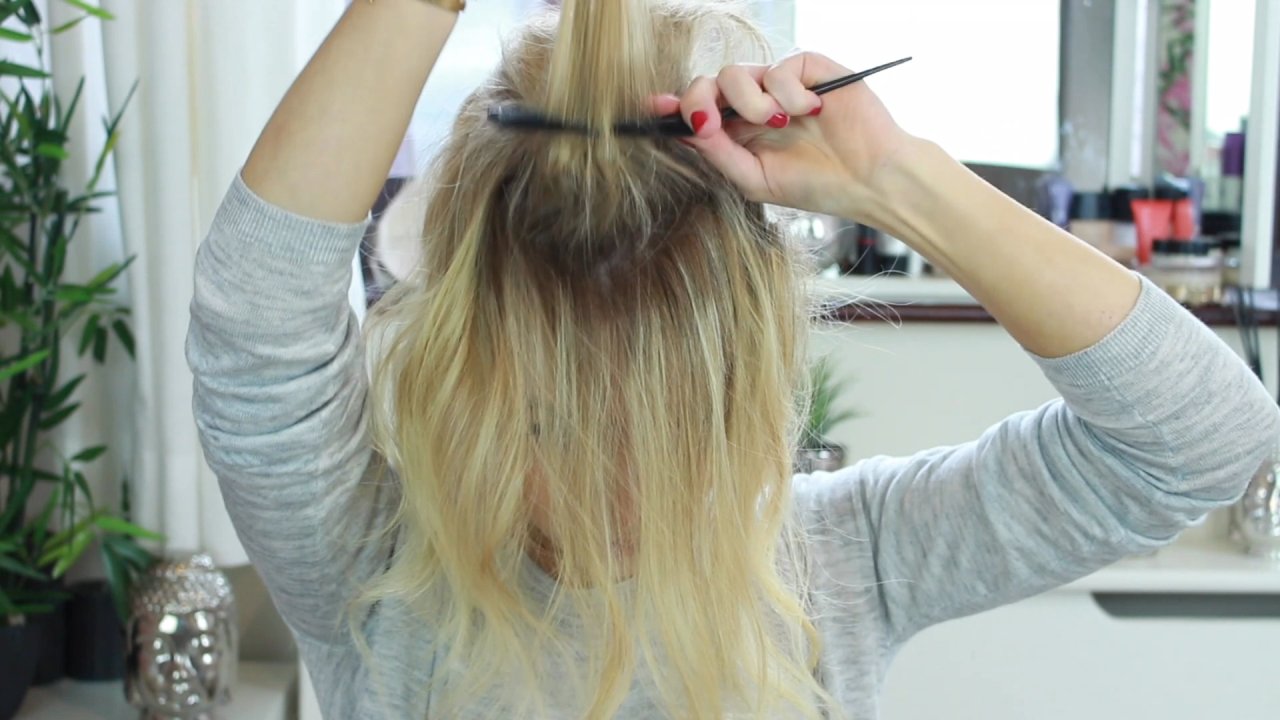
Once you have finished backcombing, just smooth over the top slightly. Take your hair grips and randomly grip your top section of hair into your mane so all of your hair is flowing down your back in one gorgeous messy tumble.
13.JPG
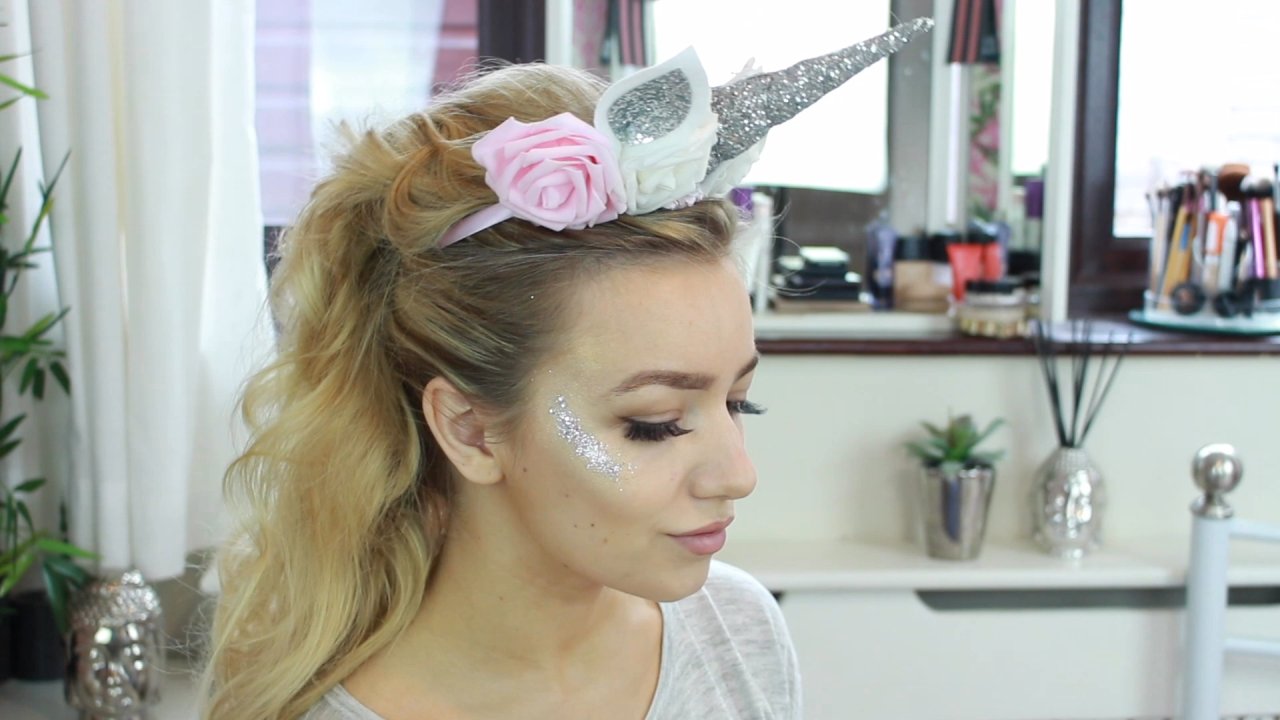
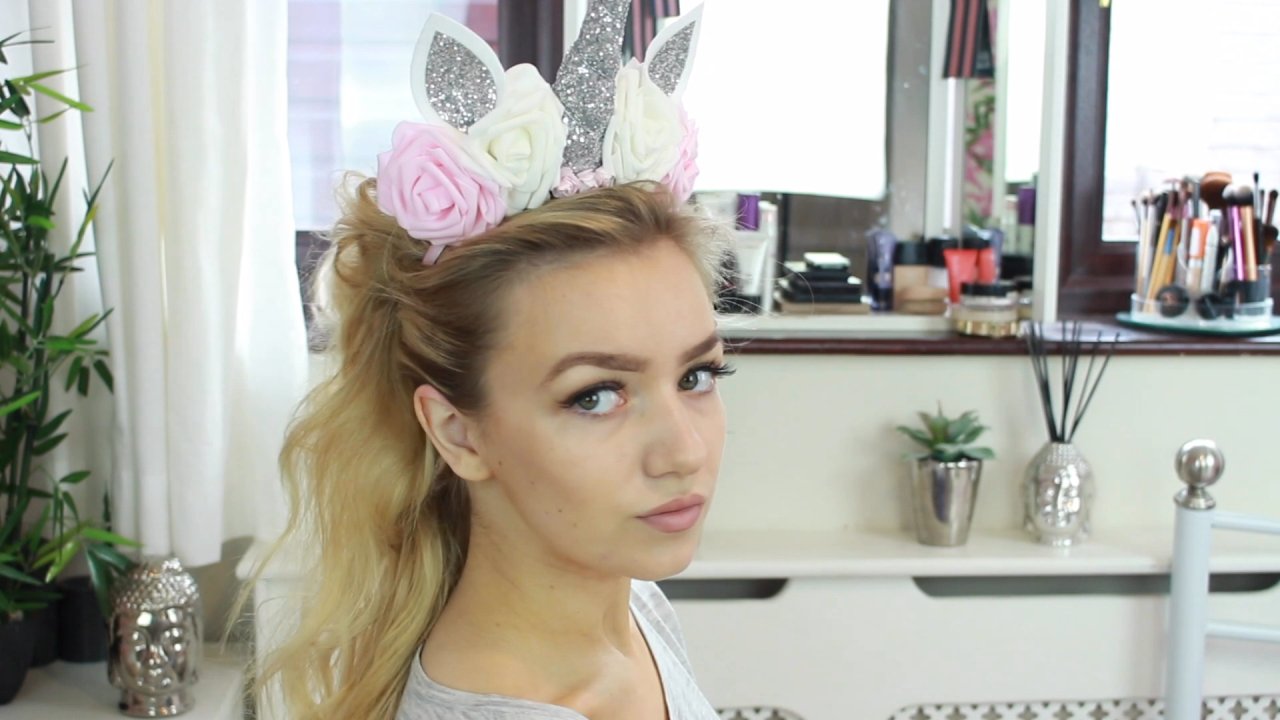
Give it a good spritz of hairspray to keep everything in place and place your unicorn headband proudly on the top of your head.

Magical make-up
So we don�t just show you how to do kick-ass hair, we�re here for you when it comes to your make-up too! To add that essential unicorn sparkle to your look, start by applying your pigmented highlighter to your cheekbones before adding your glitter pigment over the top. If you want to leave it there you can, but we reckon the more sparkle the better!

Alex also gets some eyelash glue and applies it above her cheekbones to stick on some silver glitter and silver crystals to really amp up that sparkle power.

01 title 2.JPG

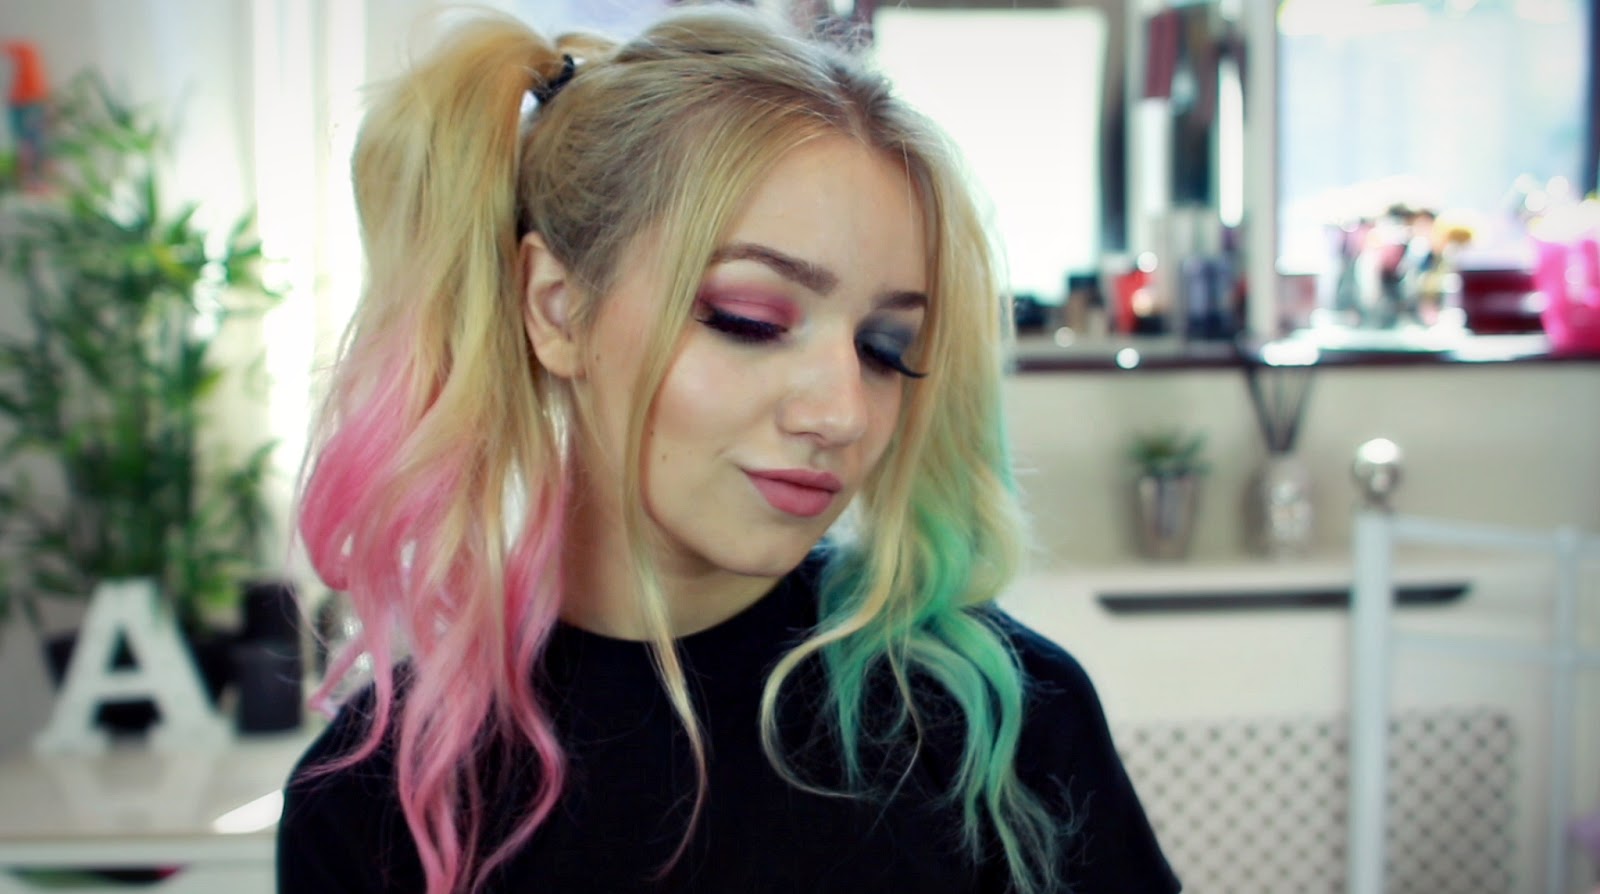
And there you have it, a unique and in no way mane-stream (sorry) style. You�re a beautiful Halloween unicorn, girl � get out there and prance!
If you�ve got any questions or tips you�d like to share, either leave a comment below or hit us up on Twitter, Facebook or YouTube

Unicorn collage.jpg


Read more

Wednesday, October 28, 2015

Hair Style|North America loves MONAT� Hair Care!


www.HairCareDistributor.com is your #1 source to the hottest new hair care and styling line in North America!


Discover Visibly Longer; Fuller; Younger-Looking Hair in Just 90 Days - Guaranteed!
With MONAT� Treatment Systems.

With ingredients that are naturally-based, safe, pure and sustainable, MONAT� is truly revolutionary product line that is botanically based and designed to nourish all hair types; is safe on hair extensions; and is gentle enough for the entire family. But with other brands recognizing the power of botanical oils, how is MONAT� any different? The answer lies in our rich formulations that make these naturally-based ingredients work in harmony with each other, combining and reacting to pump up their natural properties to take MONAT� to the next level.

Clinically proven results with MONAT� key ingredients:
? REJUVENIQE� Oil Intensive
? Capixyl�
? Procataline�
? Cordasorb� 

Available in USA and Canada: Order Online: www.HairCareDistributor.com

VIP Customers: 
? Save 15% 
? Free Shipping
? Exclusive Offers
? Free Product with our 3&Thank-You Program

MONAT� We are Modern Nature: (Maw-Nate)
Clinically proven Results (Summary available)
Made in the USA at an FDA approved facility and third party tested
No sulfates, Parabens or Sodium
Organic ingredients, Non-GMO, Sustainable ingredients
Made with Abyssinian oil (one of the rarest and most nourishing oils on Earth)
Effective and often immediate results
Competitively Priced
No retail inventory required (maintain product supply for salon/stylist use)

Product samples are available - http://www.jotform.ca/form/52564763546262


ATTENTION STYLISTS AND SALON OWNERS:
Can one shampoo change your business? At MONAT�, we believe it can! 

Are you ready to be one of the first salons in your area to offer MONAT� products to your clientele? 

MONAT� enables you to provide a natural based product for your clients while:
? Increasing salon revenue
? Building staff camaraderie
? Nurturing client and employee loyalty

Not only will MONAT� products benefit your clientele, our sales model will supplement your already successful business. You and your stylists can partner with us for commission; bonuses; training and support; in fact, we�re the first company of this kind and we cannot wait to share it with you! Launched in the USA in October 2014 and in Canada October 2015!

Our business model for Salons enables you to bring any number of your stylists into the system without complicating your current payroll or commission structure. 

Through our back office management system, MONAT� handles:
? Inventory
? Delivery
? Commission payments
? Product Guarantee

MONAT� seamlessly integrates into the work place and beyond, providing a residual income stream without carrying retail product inventory. You will also benefit from ongoing revenue when your storefront is closed; when your stylists are not busy behind the chair; and with the VIP Customer Program, continued revenue even if your client(s) move away or change salons and continue to use the product. Have any of your product lines ever provided you an opportunity like this?

MONAT� backs the products with a money-back guarantee, and wants to partner with you and your stylists so you too can all benefit from this exclusive hair care and styling line that will never be sold in department stores. 

Send an email to request your Salon Sample Kit. Want more information? Our Clinical Trial Summary is available, along with our product use guide and ingredient list. MONAT� products and opportunity come with a money-back guarantee. Get started today and earn as you learn. Product packs are available at an introductory price when you join the MONAT Family! 

Join the team at www.HairCareDistributor.com your #1 source for all MONAT� Products!

Respectfully, 
Cindy Girard - Team Leader, Independent Market Partner, ID 48584


Gallery


Videos
Not your mother's MLM


As seen on TV


Monat Black - Men's Line


REJUVENIQE Oil Intensive


How to earn with MONAT�


Read more

Saturday, November 19, 2016

Hair style|Everything you need to know about coloring your hair!


So, you want to have some color in your hair but you find it difficult to explain your needs to your hairstylist? This guide is for you!


Highlights:


They can be narrow, medium or wide, made with the use of foils or a hood. They always start from the root of your hair having a different color than your hair base. They provide a nice brightness effect to your face!


Lowlights:


Lowlights seem to be less popular, mostly due to the lack of knowledge for this particular technique. But they can do "magic" on your hair! If you love brightly toned glance but do not want a dramatic change in your appearance, then lowlights is the technique you should choose. Narrow or wide spaced tufts, separated from the remaining hair and painted two tones darker than the rest of your hair. I recommend adding lowlights every third time you do highlights. This will help you interlock your highlights to your natural color and have a more natural overall look.


Babylights:


Also made with the use of aluminum foil or free hand. They look like the effect that summer has on our hair. Small thin tufts brightened up, no more than two tones of your natural color. Babylights remind us of our childhood when our hair was softly brightened because of the sun light!


Ombre:


Ombre trend made its dynamic entrance in hairdressing just a few years ago and most of the women with long hair would try this technique at least once in their lives! Dark base with gradual lightening towards the tips, is what ombre is all about. The procedure is done with either aluminum foil or free hand. Your hairstylist should know this technique well enough and avoid creating color "bars" and abrupt transitions in color.


Sombre:


The substitute for ombre has a name: sombre! It is almost the same technique with the only difference that in sombre we have smoother color gradations. The difference in root and the tips are no more than 2 tones and the colors are more sweet and warm.


Balayage:


Having a French origin, this technique developed in the 1970s and is a free hand method where the color is applied by hand instead of using the traditional techniques of foil or hood. It is a "low cost" option because it does not start from the root of your hair and thus you don't have to repeat it regularly. It can be done in short hair as well, but the best results are achieved when the hair is below your shoulders. Balayage can be combined with ombre and give some amazing results to your hair!


Stencil Box:


Stencil box is to color specific sections of hair and add light, movement and volume to the hair. The result? A unique, almost-pixelated effect, that was first introduced by Terrence Michael Renk, Global Artistic Director for ProRituals by Jingles and Marilyn Brush.


Smoky Blonde:


2015 will be the Year of the bobs! Low bobs, assymetrical bobs, short bobs are already dominating hair fashion. The need to differentiate a bob haircut is also here. A contrast, strong color, which would make it stand out from the ordinary. This technique is dedicated to all of us who have shorter hair and can not follow the trends of ombre, sombre etc.


Of course there are plenty of other hair coloring techniques. But most of them only differ in color. You can convert an ombre from brown-to-strawberry-blonde to brown-to-blue or change the contrast of a smoky blonde to pink shades. If you fully understand the above techniques you can "play" and create by combining colors and techniques!

Article source: www.xtenismata.gr


Read more

Sunday, October 16, 2016

Hair style|Mermaid Halloween Tutorial!


Love Halloween? Planning your costume already? Us too! 


Now that the nights are drawing in and the leaves are starting to fall, our thoughts are turning away from fun in the sun and towards all of the best things about autumn � pumpkin spice lattes, chunky knits and cosying up on the sofa � and of course, everyone�s favourite spookfest, Halloween!
If you�re bored of the usual witch and devil costumes, try something a bit different this year and go as a spooky mermaid. But this is no cutesy Disney Ariel look. Think sexy sirens on the rocks luring unsuspecting sailors to their watery end instead! Now just grab your clip-in hair extensions and follow Miss Alex�s guide to creating this show-stopping Halloween look.
First, get everything you need ready�

You�ll need
  • Your clip-in hair extensions
  • An old towel
  • Hair chalk in a blue/green shade of your choice
  • Fluffy make-up brush
  • 2 Blue/green eyeshadows
  • Wig cap or fishnet tights
  • Blue/green lipstick
  • Sectioning comb
  • Curling wand or iron
Get chalking
Before you apply your clip-in hair extensions, you need to use your hair chalk to create those cool Mermaid streaks. Alex has chosen a teal shade of hair chalk but any blue/green colour would work well. Lay your extensions on an old towel, take your chalk and start slowly building up the colour.
02.jpg

Press your chalk onto the hair in downwards strokes, starting at the ends and working upwards. You want to make each streak a slightly different length to make it look more relaxed. Chalk all of the wefts that you will be using for this look, then set them aside while you do your mermaid make-up.
Mermaid make-up
To get Alex�s clever fish scale make-up look, you need to take your wig cap or fishnet tights and put them on your head. No, really. First pull the fishnet pattern down so it covers your forehead.
03.jpg
Take your fluffy brush, load it up with a darker blue-green eye shadow and dab it over the top of your forehead around your hairline. Try not to let the fishnet move as this is basically your stencil.
Next, use the lighter shimmery shade and apply this underneath the darker shade to create a gorgeous ombre effect. Gently take the fishnet off to reveal beautiful shimmery scales.
Now, pull the fishnets right over your face. You should have fishnets covering your cheeks and jaw. Use both of your shades to create the ombre effect again to contour your cheeks and jawline.
05.jpg
Carefully remove the fishnets and apply some blue lipstick to complete your mermaid make-up. Fish-tastic!
07.jpg
Stunning siren hair
Now it�s time to apply your chalked clip-in hair extensions. Brush your hair through so there are no knots, then section your hair and clip in your extensions as normal. If this is your first time, you can find out how to apply clip in hair extensions in an earlier post. We�ve got you covered ladies.
Once you have applied your extensions, take your hair chalk and simply chalk some strands of your natural hair so that it blends beautifully together with your extensions.
09.jpg
Then take your curling wand and add a few loose waves to give your style some volume and texture. Again, we�ve got your back with our awesome how to get loose curls post.
And it�s as easy as that - all you need is a seashell bra and a deadly singing voice and you�re ready to reel them in!. Happy Halloween!
If you�ve got any questions or tips you�d like to share, either leave a comment below or hit us up on Twitter,Facebook or YouTube
Job 19 600 x 1090.jpg


Read more

Hair style|Suicide Squad exclusive: Harley Quinn hair and makeup tutorial!


You don�t need a team of Hollywood hair stylists to create the look!


Harley Quinn. She�s the ass-kicking, baseball bat-wielding, former psychiatrist brought over to the dark side by Batman�s worst nemesis, the Joker. One of the most popular DC Comics characters, Harley Quinn is coming to a screen near you in this summer�s hottest blockbuster, Suicide Squad.
Played by the ridiculously beautiful Margot Robbie, her look is deceptively cute with funky coloured bunches, bright and mismatched eye makeup -  and a shedload of scary attitude. But you don�t need a team of Hollywood hair stylists to create this look when we�ve got the (equally gorgeous) Miss Alex on hand with a fantastic video to show you how to harness your inner supervillain � and look fabulous at the same time!
So before you begin your quest for world domination, get your stuff together!

You�ll need
  • Clip-in hair extensions (Alex has gone for 20 inch extensions in shade 613)
  • Curling wand or iron
  • A brush
  • Fine toothed comb for backcombing
  • Hair ties to secure your bunches
  • Hair chalks in pink and blue
  • An old towel
  • Pink and blue eyeshadows
  • Eyeshadow brushes for applying and blending

All set? Let�s do this.

Suicide squad thumbnail.jpg
Make your bunches
First things first, get your hair extensions clipped in. If you�re new to clip-in hair extensions don�t worry, we�ve got a great video from Alex on the blog taking you through all the steps you need to follow to clip them in like a pro. Just hurry back, OK?
Once you�ve clipped in your extensions, give them a good brush through so they�re nice and smooth. Now, take your comb and trace a line up from the tip of your nose right to the crown of your head to create a perfect centre parting.
01.jpg
With your hair split into two sections, take the hair on your right and pull it up into a high ponytail on the side of your head to make your first bunch. You�ll want to place it a bit higher than you would think, as they�ll fall down slightly as you chalk and curl them later. Secure the bunch with a hair tie � you can go for blue and pink ones to really get into the look � and repeat the process on the other side of your head so you have two high bunches.
02.jpg
Using your comb, pull out some strands of hair from around the front of your face to frame it, then tuck them behind your ears for now so they�re out of the way while you chalk the hair.
Chalk it up
Grab your blue hair chalk and place a towel over one shoulder. Now, apply the blue chalk to the tips of your bunch, taking the chalk about half-way up it. You need to gently rub the chalk down the length of the hair it to make sure you get good coverage. It can help to brush out the hair occasionally as you go. This helps separate the chalk and lets you spot any bits you might have missed.  
05.jpg
Once you�ve finished applying your blue chalk to one bunch, take your pink chalk, move your towel over to the other shoulder, and repeat the chalking and brushing on the other bunch.
Give it some volume
Now it�s time to give your bunches a bit of extra oomph. Bring them to life by taking your curling wand and curling the ends. To do this, just wrap strands of hair around the wand, or iron, hold for a few seconds a release. Super easy. When you�ve finished curling, gently brush through the curls or separate them with your fingers.  
07.jpg
Now up the volume with a bit of backcombing. Take your comb and gently push up against the ends of your bunches to make them more voluminous.
Alex�s added extra
If you want to steal Harley Quinn�s whole look, you�ve got to go for the eyeshadow as well. Alex shows you how in her video and it�s a great way of really capturing the style of Harley Quinn.
First apply a light pink shade of eyeshadow on the lid of the eye on your pink side. Then apply a darker, hot pink shade into the crease of your lid.
For the other eye, apply a light blue all over the lid and then choose a darker, blue for the crease. Keep the look subtle by blending your eyeshadow well with a blending brush.  
10.jpg
And that�s the finished look - you might be a �baddie� but you sure are a hot one! And sometimes it�s fun to be bad, right?
If you�ve got any questions or tips you�d like to share, either leave a comment below or hit us up on Twitter, Facebook or YouTube


15 harley quinn.jpg


Read more

Monday, November 30, 2015

Hair Style|Beautiful suggestions for your hair by The Hair Studio, Basingstoke, England!


The Hair Studio is based in Basingstoke, England and is a fun, lively, friendly little salon with a highly qualified team who will help you to design a style that will suit you, your skin tone, natural hair colour and lifestyle!  


There is free parking and late night openings through the week till 8pm and till 5pm on Saturdays.  On site is also a Beauty Room and Barber Shop so you can take care of all your hair and skin care needs under one roof!

TEL: The Hair Studio 01256 841063 
FB: The Hair Studio Basingstoke 
WEB: www.thehairstudio.biz  

Gallery


Read more