Showing posts sorted by relevance for query hair style guide. Sort by date Show all posts

Saturday, December 3, 2016

Hair style|All About Oli Slicking Technique!


A great guide by Catina Nadine Boyle!


Supplies:

These are the most important tools needed in order to make this Secret Oil Slick Color a Success!!!

A Professional Licensed Hair Cosmetologist   
Color Supply Line: Joico Intensity 
Colors: Colbolt Blue, Amethyst, Peacock Green and yellow mixed 1/2 & 1/2 
(one tube of each color is plenty)
Lightener: Joico Vero KPACK Lightening Powder
Developer/Peroxide: Joico Creme Lightener
(refer to lightening stage for proper Volume needed  20volume needed for most)
One box of ColorTrak, precut foils,
One Hair Tie,
1 foiling or rat tail comb, 
3 hair clips, 
Chemical color cape,
A color brush for Each tone,
Four plastic (non metal) color bowls,
Quantum Clarify Shampoo,
JoicoSulfate Free Shampoo and Conditioner
MoistureMist
Babyliss Pro Flat iron and hair dryer.

Cosmo Prof is a great place to start when searching for the necessary tools that are needed for the Secret Oil Slicking process

*Color Choice: 
Joico Intensities

Joico has amazing shades of bold and brilliant color. It is combined with concentrated pigments that are designed to help create endless shades with minimal fading. With the proper at home care (discussed later in the article) this shade has been lasting up to 4 months in most clients.

Color Intensity�s intermixable formula can be applied straight from the tube, or mix and mingled to your heart�s content for endless creative possibilities. Bonus benefit: no developer required!

Warnings
Avoid contact with eyes.  Rinse eyes immediately if product comes into contact with them.  Wear suitable gloves.  Keep out of reach of children.  For professional use only.

Lightener Choice:
Joico Vero Light Off-Scalp Lightening Powder contains moisture-rich crystals to protect the hair's cuticle and inner structure.
Contains K-Pak protection and moisture-rich crystals to leave hair in optimum condition

Warnings
 Avoid contact with eyes.  Rinse eyes immediately if product comes into contact with them.  Wear suitable gloves.  Keep out of reach of children.  For professional use only.

Developer/Peroxide Choice:
Veroxide

A pH-controlled gentle creme developer. Activates the exclusive K-PAK technology in VERO K-PAK for lightening formulas

Warnings
Contains hydrogen peroxide.  Avoid contact with eyes.  Rinse eyes immediately if product comes into contact with them.  Wear suitable gloves.  Keep out of reach of children.  
For professional use only.

Foil Choice:
Colortrak Pop-Up Foil 5" x 11" 500 Sheets
Silver Foil
500 sheets per box
Pre-cut, ready-to-use sheets
Pop-up dispenser box

Shampoo Choices:
Quantum Clarifying Shampoo: 
Ensures maximum performance when used prior to chemical services
Dual chelating system washes away minerals, any remaining chemicals, chlorine and hard water deposits

Oil Slicking:
If the client has Darker Hair, deeper shades are ideal for this adventure. Blending deep purples into greens and the green into a blue are great for naturally dark hair. Do to this being a secret you really dont want the shades to be too bright or show through, so placement should be kept underneath thick sections of your natural hair. Always making sure to keep the secret to yourself. Longer Length Hair Styles that can cover the secret color underneath is best for the Secret Style.

(Depending on how dark the color is, pre lightening steps may be needed. In order to acheive Brightness but  Not necessary) 

As for lighter hair you should really stick to the more lighter, opal and pastel shades in the Oil Slick Shades. Using Peachy oranges, light pinks, dull yellows and lime greens in the Joico Line would be ideal tones for  blondes. Just like the dark color placement, thick sections are needed to hide the tones. Pre lightening is not necessary for any color that may be used on dirty blonde to  lightest shades of blonde.
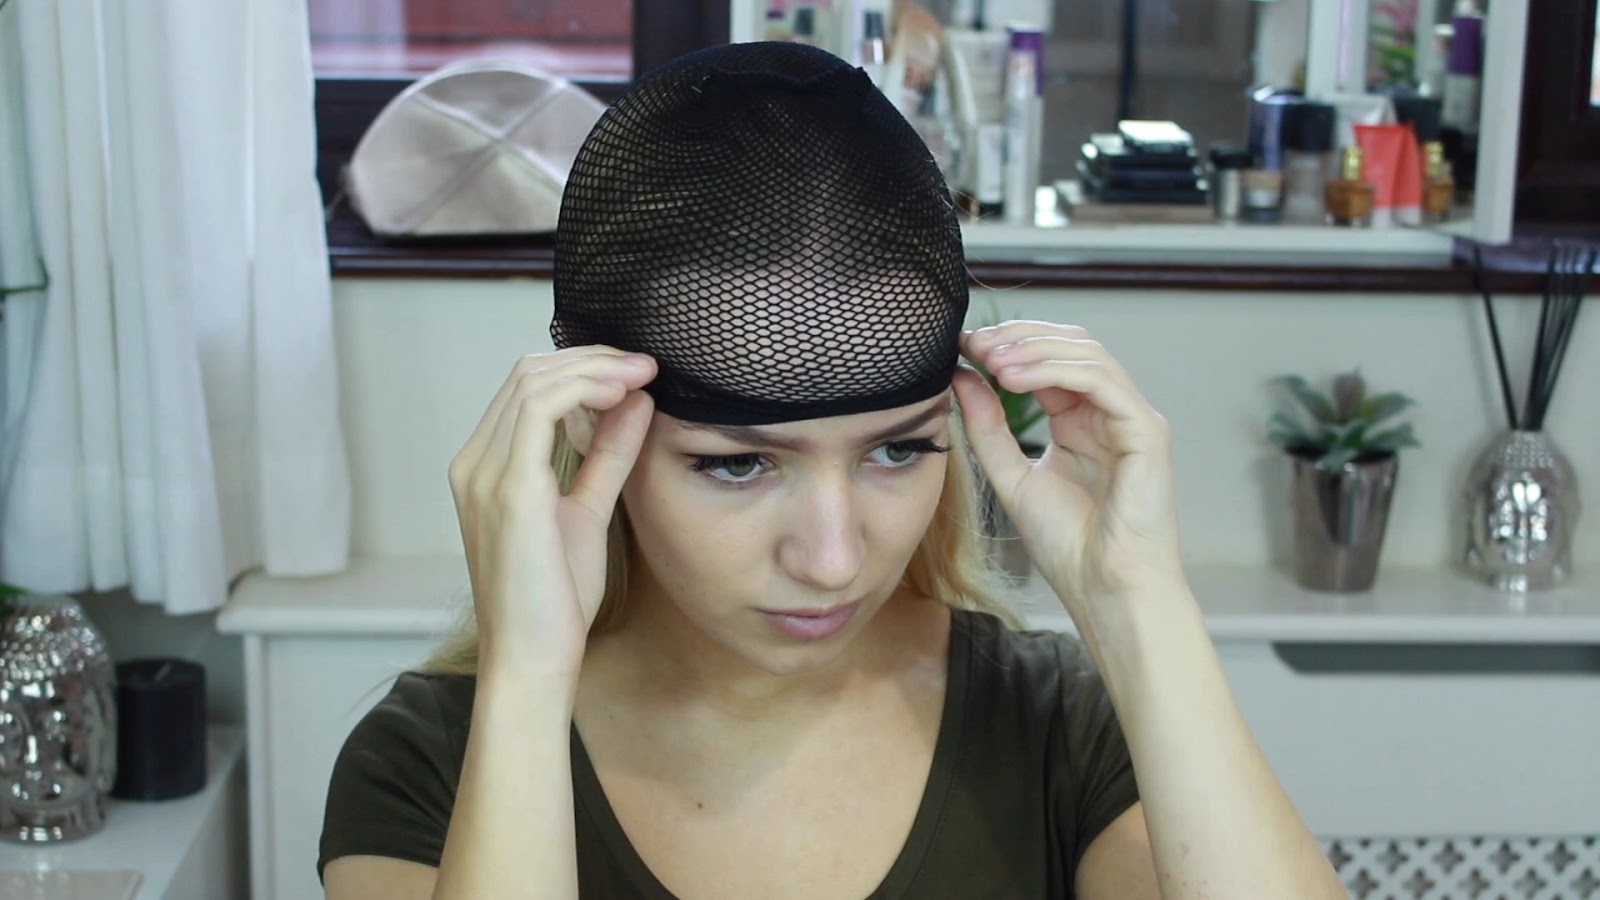
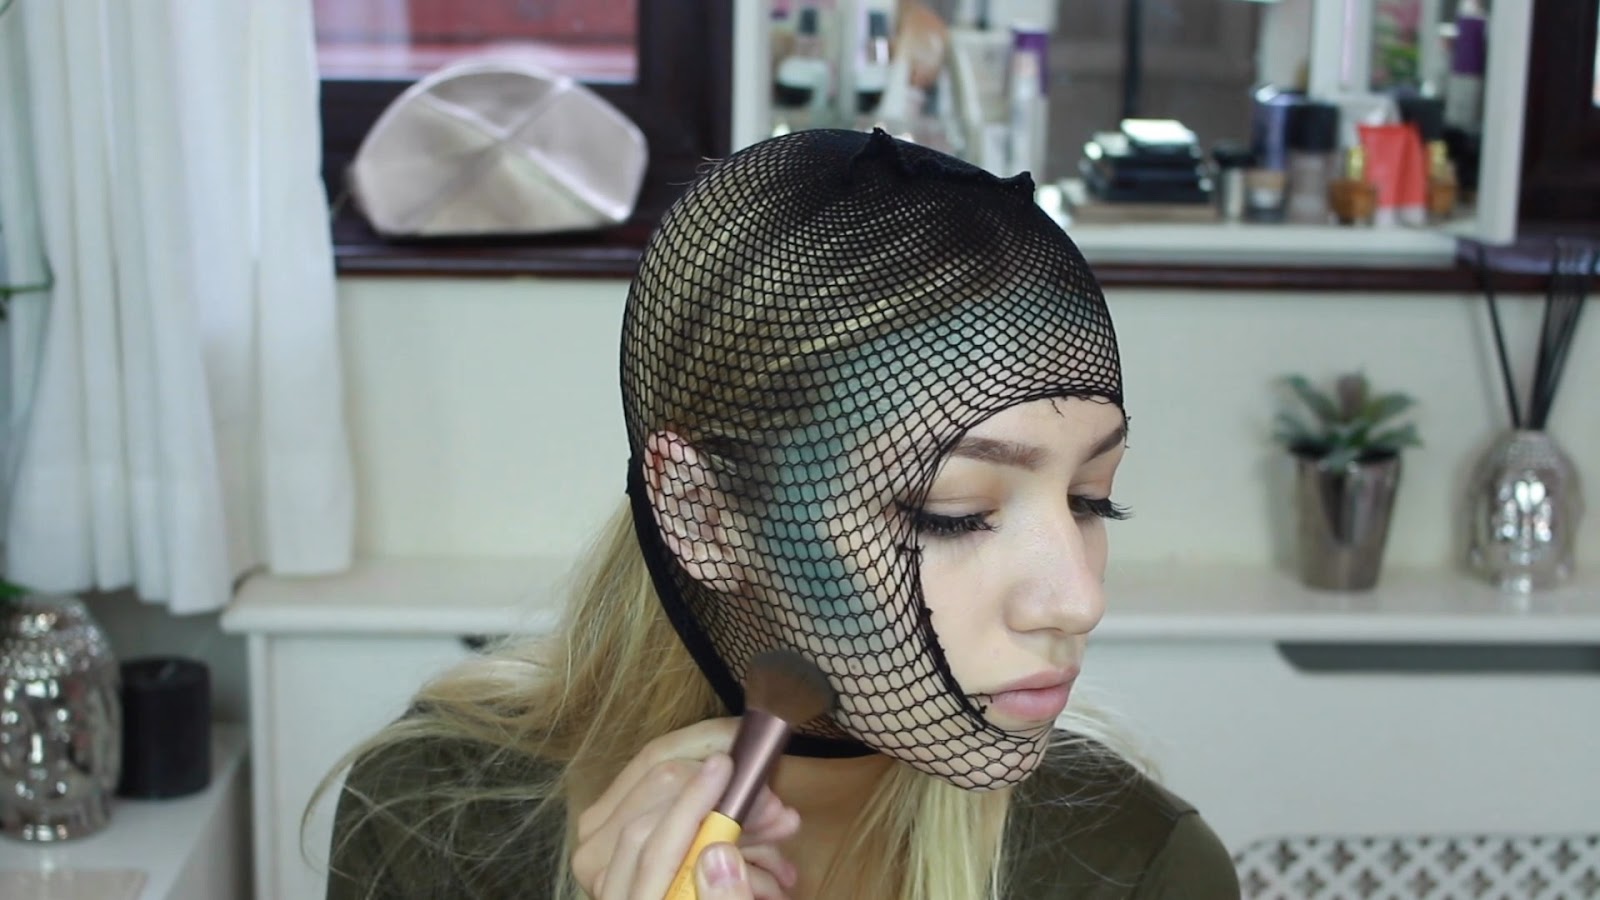
Sectioning:
The sectioning is going to make the uniqueness for the Secret Oil Slicking Process possible. Sectioning is an important part of the process as well due to the secret of its Non Visual/ Visual effect.

One way is to: 
Make a U-Section, starting and ending at the eyebrow line. Brush hair up into a secure hair tie then wrap into a bun, keeping this hair completely out of your way.  Then measure at least one inch down and make at least three 1x4 inch sections placing each into a hair clip for easier control of all hair. Leave a one inch section at hair line in order to keep the color a A Secret. This Is Great for the Styles that Must be pulled up.

Another way is:
Start by making a half circle section, from ear to ear. Placing top section of the hair into a bun. Leaving the entire underneath available For Secret Oil Slicking Shades. 
You can be creative with this part, make it your own...

Lightening Process:
(LIGHTENER IS NOT ALWAYS NEEDED)
*This step is only for the brightest shades wanted and expected.

Dust Free Powder such as Joico Lightener, dust free lightener would be a great choice for lightener. 

Peroxide:
This part can get a little tricky. In order to determine Volume needed there are a few things to consider: 

Are there layers of past colors that still exist. Even If the clients hair hasnt been colored in 6-12 months, there still may be color in layers of the cuticle.

If so, your hair will need a higher level of Peroxides,  30-40 volume Cream developer will be required on Natural Levels 1-3  & levels 4-7 need 10-20 Volume peroxide.

Next: Mixing the Product
First mix your bleach and peroxide. Add one level scoop (1/4 cup) of powder into bowl, pour in Cream Developer a little at a time until you reach a nice creamy consistency. Make sure the consistency is more on the thicker side. if Product Consistency is to thin add more powder.

Next: Application   
Place Chemical processing cape on client in order to keep clothing protected.
 Next, you will start the sectioning for bleach and foil placement. 
in your first section of clipped hair, take a  thin horizontal slice, thin enough so that you can see thru the hair slicing. (place extra hair back into clip) Take a sheet of foil, fold the top of foil (approximately a half inch) over the end of the rat tail/Foiling comb, Place your foil under the section. (try pressing foil gently against the head for control) and begin Bleach application. Place your brush into bleach, scoop out a small amount at a time until you get a handle on controlling the brush and bleach. Applying  product to one foil at a time per section. *MAKING SURE TO KEEP AWAY FROM SCALP.  Run the product all the way to the ends, then place second sheet of foil on top of  that section. Take another thin slice, and lay it on top of last sheet, apply bleach and  then cover with third sheet of foil.Continue this step until you reach the top of section.
  
DISCLAIMER:
Bleach MUST be kept approx 1/4 inch from scalp. 
(higher volume peroxide can create chemical burning, blisters and sometimes hair loss) 
When all application is finished apply  heat to get maximum results. 

Processing time:
Darker hair (especially previously colored) will need extra time. Timing It out to approximately 45 minutes for levels 1-4. Timing levels 5-7 approximately 30 minutes.  If you are trying to achieve extreme lighting this step may need to be repeated.
** Do Not Leave 30-40 vol bleach on you hair for any longer than 45 min. **

Heat Application/Processing time
There are two separate ways to add heat to foils, most common in salon choice is underneath a hooded dryer and the heating temperature for this step should be medium heat. Also, a hand held Hair dryer always works in this step. If you have the narrow nozzle attachment that usually comes with the dryer, now would be a great time to attach it, if you don't its fine. 

By adding the attachment helps with applying direct heat.

Place your hair dryer approx 10inches away from foils, making sure heat from dryer is aiming directly at foils, turn on low to medium heat. 
Both methods work for accelerating and processing the lightener.

The level of lightness will be determined by the expected color of achievement. the lighter you take the hair, the brighter the tone.

Rinsing:
After you have reached the desired level, (orange to pale blonde) gently removed each foil. if you have placed the foil as straight a possible they should slide off nicely.  rinse with warm water, (still leaving hair in bun at top of head)  i personally feel that using Quantum clarifying shampoo is best, it helps remove any left over color/product. Wash Hair Twice. Towel Dry. 

Drying Prep
Next condition with a Hydrating Mist, this leave in conditioner will help achieve more slip and control, while evening out the porosity. Start detangling from the bottom of the hair strand and working your way up.

How to Dry The Hair
As you dry the hair make sure the heat is at medium temperature. aiming dryer in a downward angle. 

Secret Oil Slicking Color Application

Let The fun begin!!!! 
By now you should know what shades you want for this step. 
Once again taking the same thin see through sections in step three.
Start by taking diagonal sections, this will give you a more custom look.  
(fold foil over comb and both under thin section of hair) 
Use a darker shade at top working it into a lighter/brighter shade and back to a darker tone. Since this application is for oil slicking, you can totally use your imagination!  When applying the shades make sure to over lap the color approx a half inch into next shade. 

EXAMPLE:
You will divide the length of hair into thirds. Start the application by applying Amethyst  to the top section working it down one third of the way,
then apply Colbolt Blue to the middle section, and then Peacock Green/Yellow mixture  to the ends. over lap the shades where they meet at least one inch into the next.

*Each thin section you take will need to be Foiled Separately. 
(One piece of foil underneath each thin section of hair and one piece of foil a top of the just applied color. Repeat this step for every slice via every section)

Process: 
Place the  client under a hooded dryer for approximately 20 to 30 minutes. Then remove the client from the dryer and then let them cool down for another 10 minutes. The heat from the dryer will allow the cuticle layer to open and the color to seep under this layer
And then allowing The cuticle to reseal during to cooling process. 

Rinsing:
Still leaving hair in bun atop of head. Pull foils out one by one. 
Work color into the hair using gloves. Rinse hair with COLD WATER.
(washing with hot water will open up the cuticle layer, and wash away all your hard work. 
(COLD WATER IS A MUST)

This as well helps with the longevity of color. Wash with Joico Sulfate Free shampoo, rinse towel dry and Spray again with Hydrating mist.


Blow dry and Style: 
Dryer should always be on a medium heat. Aiming In a downward direction. Style with your favorite styling tools. always using medium heat on any style. 


AFTER SALON CARE:
This is also a very important part of the color service and Any Chemical Service.

Make sure to purchase a Sulfate Free Shampoo Conditioner and Styling Products. 
(DO NOT USE ANY TYPE OF CLARIFY PRODUCTS,this will STRIP all chemicals applied)

Wash and Condition hair in cold water.
(ALWAYS WASH WITH COLD WATER FOR LONGEVITY)
(Hot water will open the cuticle and allow chemicals to escape) 

Towel dry. Spray Leave in conditioner. Brush hair starting at bottom and working your way up.  Apply Favorite styling Products of choice. Blow dry on medium heat. Iron style by choice.


DISCLAIMER
Always be sure to check the porosity and strengths of the hair BEFORE the Pre-lightening Stage.


Read more

Saturday, November 19, 2016

Hair style|Everything you need to know about coloring your hair!


So, you want to have some color in your hair but you find it difficult to explain your needs to your hairstylist? This guide is for you!


Highlights:


They can be narrow, medium or wide, made with the use of foils or a hood. They always start from the root of your hair having a different color than your hair base. They provide a nice brightness effect to your face!


Lowlights:


Lowlights seem to be less popular, mostly due to the lack of knowledge for this particular technique. But they can do "magic" on your hair! If you love brightly toned glance but do not want a dramatic change in your appearance, then lowlights is the technique you should choose. Narrow or wide spaced tufts, separated from the remaining hair and painted two tones darker than the rest of your hair. I recommend adding lowlights every third time you do highlights. This will help you interlock your highlights to your natural color and have a more natural overall look.


Babylights:


Also made with the use of aluminum foil or free hand. They look like the effect that summer has on our hair. Small thin tufts brightened up, no more than two tones of your natural color. Babylights remind us of our childhood when our hair was softly brightened because of the sun light!


Ombre:


Ombre trend made its dynamic entrance in hairdressing just a few years ago and most of the women with long hair would try this technique at least once in their lives! Dark base with gradual lightening towards the tips, is what ombre is all about. The procedure is done with either aluminum foil or free hand. Your hairstylist should know this technique well enough and avoid creating color "bars" and abrupt transitions in color.


Sombre:


The substitute for ombre has a name: sombre! It is almost the same technique with the only difference that in sombre we have smoother color gradations. The difference in root and the tips are no more than 2 tones and the colors are more sweet and warm.


Balayage:


Having a French origin, this technique developed in the 1970s and is a free hand method where the color is applied by hand instead of using the traditional techniques of foil or hood. It is a "low cost" option because it does not start from the root of your hair and thus you don't have to repeat it regularly. It can be done in short hair as well, but the best results are achieved when the hair is below your shoulders. Balayage can be combined with ombre and give some amazing results to your hair!


Stencil Box:


Stencil box is to color specific sections of hair and add light, movement and volume to the hair. The result? A unique, almost-pixelated effect, that was first introduced by Terrence Michael Renk, Global Artistic Director for ProRituals by Jingles and Marilyn Brush.


Smoky Blonde:


2015 will be the Year of the bobs! Low bobs, assymetrical bobs, short bobs are already dominating hair fashion. The need to differentiate a bob haircut is also here. A contrast, strong color, which would make it stand out from the ordinary. This technique is dedicated to all of us who have shorter hair and can not follow the trends of ombre, sombre etc.


Of course there are plenty of other hair coloring techniques. But most of them only differ in color. You can convert an ombre from brown-to-strawberry-blonde to brown-to-blue or change the contrast of a smoky blonde to pink shades. If you fully understand the above techniques you can "play" and create by combining colors and techniques!

Article source: www.xtenismata.gr


Read more

Sunday, October 16, 2016

Hair style|Mermaid Halloween Tutorial!


Love Halloween? Planning your costume already? Us too! 


Now that the nights are drawing in and the leaves are starting to fall, our thoughts are turning away from fun in the sun and towards all of the best things about autumn � pumpkin spice lattes, chunky knits and cosying up on the sofa � and of course, everyone�s favourite spookfest, Halloween!
If you�re bored of the usual witch and devil costumes, try something a bit different this year and go as a spooky mermaid. But this is no cutesy Disney Ariel look. Think sexy sirens on the rocks luring unsuspecting sailors to their watery end instead! Now just grab your clip-in hair extensions and follow Miss Alex�s guide to creating this show-stopping Halloween look.
First, get everything you need ready�

You�ll need
  • Your clip-in hair extensions
  • An old towel
  • Hair chalk in a blue/green shade of your choice
  • Fluffy make-up brush
  • 2 Blue/green eyeshadows
  • Wig cap or fishnet tights
  • Blue/green lipstick
  • Sectioning comb
  • Curling wand or iron
Get chalking
Before you apply your clip-in hair extensions, you need to use your hair chalk to create those cool Mermaid streaks. Alex has chosen a teal shade of hair chalk but any blue/green colour would work well. Lay your extensions on an old towel, take your chalk and start slowly building up the colour.
02.jpg

Press your chalk onto the hair in downwards strokes, starting at the ends and working upwards. You want to make each streak a slightly different length to make it look more relaxed. Chalk all of the wefts that you will be using for this look, then set them aside while you do your mermaid make-up.
Mermaid make-up
To get Alex�s clever fish scale make-up look, you need to take your wig cap or fishnet tights and put them on your head. No, really. First pull the fishnet pattern down so it covers your forehead.
03.jpg
Take your fluffy brush, load it up with a darker blue-green eye shadow and dab it over the top of your forehead around your hairline. Try not to let the fishnet move as this is basically your stencil.
Next, use the lighter shimmery shade and apply this underneath the darker shade to create a gorgeous ombre effect. Gently take the fishnet off to reveal beautiful shimmery scales.
Now, pull the fishnets right over your face. You should have fishnets covering your cheeks and jaw. Use both of your shades to create the ombre effect again to contour your cheeks and jawline.
05.jpg
Carefully remove the fishnets and apply some blue lipstick to complete your mermaid make-up. Fish-tastic!
07.jpg
Stunning siren hair
Now it�s time to apply your chalked clip-in hair extensions. Brush your hair through so there are no knots, then section your hair and clip in your extensions as normal. If this is your first time, you can find out how to apply clip in hair extensions in an earlier post. We�ve got you covered ladies.
Once you have applied your extensions, take your hair chalk and simply chalk some strands of your natural hair so that it blends beautifully together with your extensions.
09.jpg
Then take your curling wand and add a few loose waves to give your style some volume and texture. Again, we�ve got your back with our awesome how to get loose curls post.
And it�s as easy as that - all you need is a seashell bra and a deadly singing voice and you�re ready to reel them in!. Happy Halloween!
If you�ve got any questions or tips you�d like to share, either leave a comment below or hit us up on Twitter,Facebook or YouTube
Job 19 600 x 1090.jpg


Read more

Wednesday, October 28, 2015

Hair Style|North America loves MONAT� Hair Care!


www.HairCareDistributor.com is your #1 source to the hottest new hair care and styling line in North America!


Discover Visibly Longer; Fuller; Younger-Looking Hair in Just 90 Days - Guaranteed!
With MONAT� Treatment Systems.

With ingredients that are naturally-based, safe, pure and sustainable, MONAT� is truly revolutionary product line that is botanically based and designed to nourish all hair types; is safe on hair extensions; and is gentle enough for the entire family. But with other brands recognizing the power of botanical oils, how is MONAT� any different? The answer lies in our rich formulations that make these naturally-based ingredients work in harmony with each other, combining and reacting to pump up their natural properties to take MONAT� to the next level.

Clinically proven results with MONAT� key ingredients:
? REJUVENIQE� Oil Intensive
? Capixyl�
? Procataline�
? Cordasorb� 

Available in USA and Canada: Order Online: www.HairCareDistributor.com

VIP Customers: 
? Save 15% 
? Free Shipping
? Exclusive Offers
? Free Product with our 3&Thank-You Program

MONAT� We are Modern Nature: (Maw-Nate)
Clinically proven Results (Summary available)
Made in the USA at an FDA approved facility and third party tested
No sulfates, Parabens or Sodium
Organic ingredients, Non-GMO, Sustainable ingredients
Made with Abyssinian oil (one of the rarest and most nourishing oils on Earth)
Effective and often immediate results
Competitively Priced
No retail inventory required (maintain product supply for salon/stylist use)

Product samples are available - http://www.jotform.ca/form/52564763546262


ATTENTION STYLISTS AND SALON OWNERS:
Can one shampoo change your business? At MONAT�, we believe it can! 

Are you ready to be one of the first salons in your area to offer MONAT� products to your clientele? 

MONAT� enables you to provide a natural based product for your clients while:
? Increasing salon revenue
? Building staff camaraderie
? Nurturing client and employee loyalty

Not only will MONAT� products benefit your clientele, our sales model will supplement your already successful business. You and your stylists can partner with us for commission; bonuses; training and support; in fact, we�re the first company of this kind and we cannot wait to share it with you! Launched in the USA in October 2014 and in Canada October 2015!

Our business model for Salons enables you to bring any number of your stylists into the system without complicating your current payroll or commission structure. 

Through our back office management system, MONAT� handles:
? Inventory
? Delivery
? Commission payments
? Product Guarantee

MONAT� seamlessly integrates into the work place and beyond, providing a residual income stream without carrying retail product inventory. You will also benefit from ongoing revenue when your storefront is closed; when your stylists are not busy behind the chair; and with the VIP Customer Program, continued revenue even if your client(s) move away or change salons and continue to use the product. Have any of your product lines ever provided you an opportunity like this?

MONAT� backs the products with a money-back guarantee, and wants to partner with you and your stylists so you too can all benefit from this exclusive hair care and styling line that will never be sold in department stores. 

Send an email to request your Salon Sample Kit. Want more information? Our Clinical Trial Summary is available, along with our product use guide and ingredient list. MONAT� products and opportunity come with a money-back guarantee. Get started today and earn as you learn. Product packs are available at an introductory price when you join the MONAT Family! 

Join the team at www.HairCareDistributor.com your #1 source for all MONAT� Products!

Respectfully, 
Cindy Girard - Team Leader, Independent Market Partner, ID 48584


Gallery


Videos
Not your mother's MLM


As seen on TV


Monat Black - Men's Line


REJUVENIQE Oil Intensive


How to earn with MONAT�


Read more

Saturday, October 3, 2015

Hair Style|A perfect guide for cutting and styling men's hair!


If you are interested in haircutting and styling men's hair, have a look at the guide below! It will be a great help!


Guide


Read more